|
How to add Tag Manually in AutoCAD Drawings
Sometimes tags are writen in a pretty complex manner to fit the space. For these tags, Tag Patterns may fail. In such cases, tags can be marked manually in the AutoCAD drawings aswell using the process below :
•Open the File and click on Edit Tag Locations button located in the top bar of the document viewer 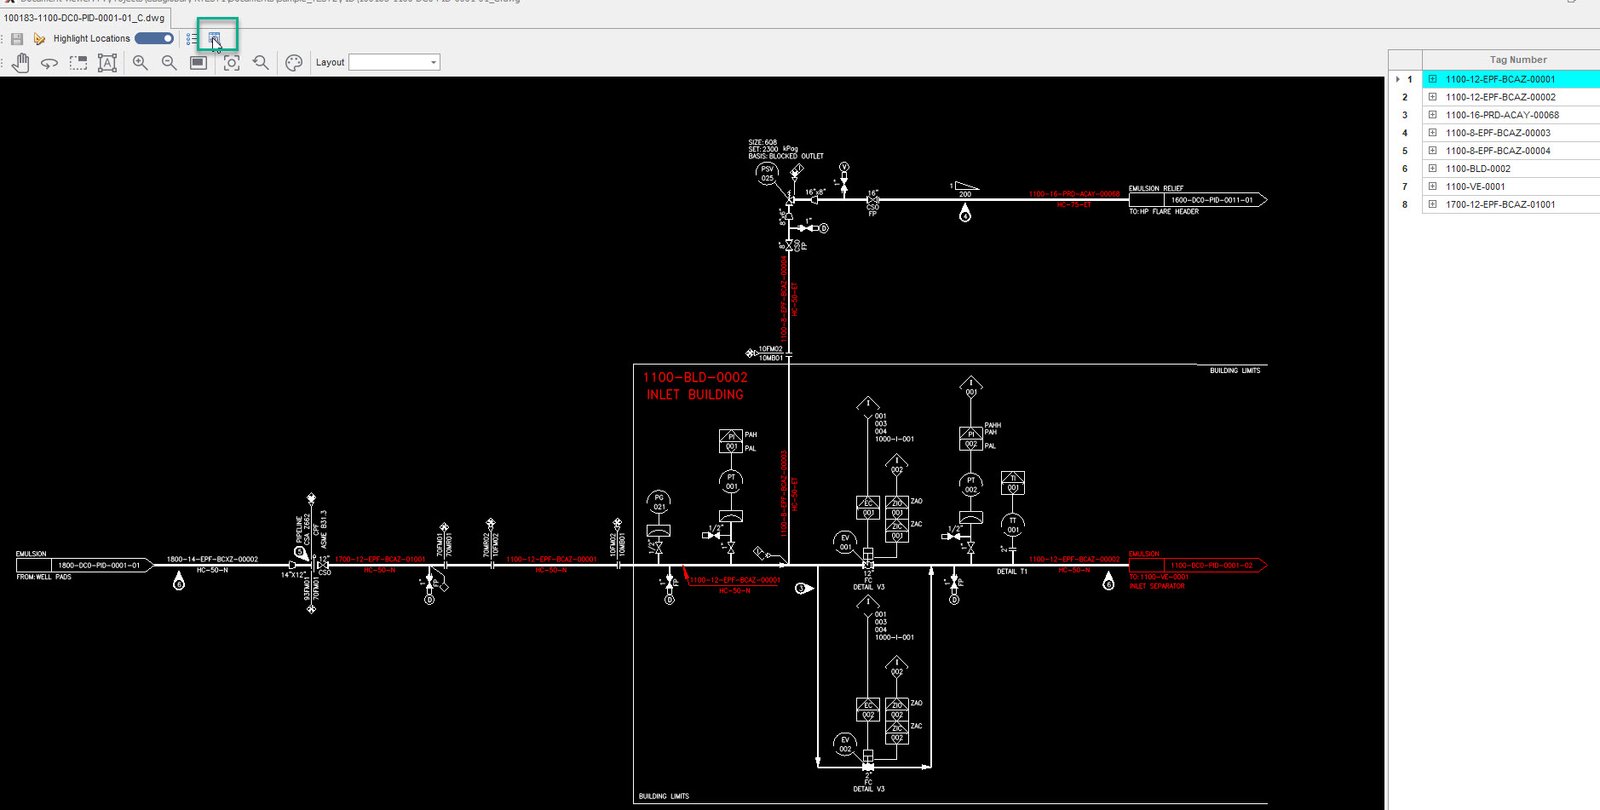
•Click on the Add Tag Entity Button that can be found on the top of the tag list.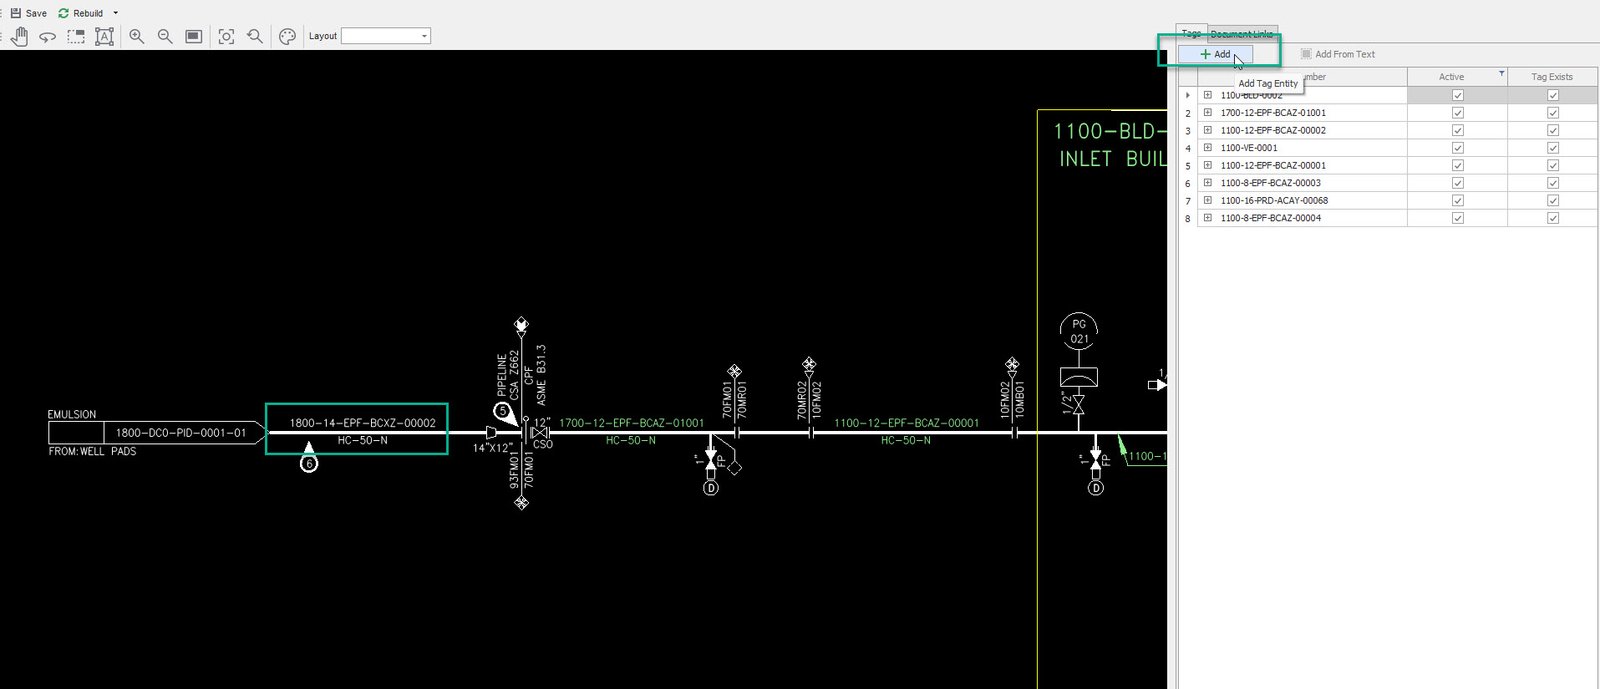
•This should pop up the Create Tag window.
•Enter the missing Tag Number.
•Select the Discipline and Classification and click Create.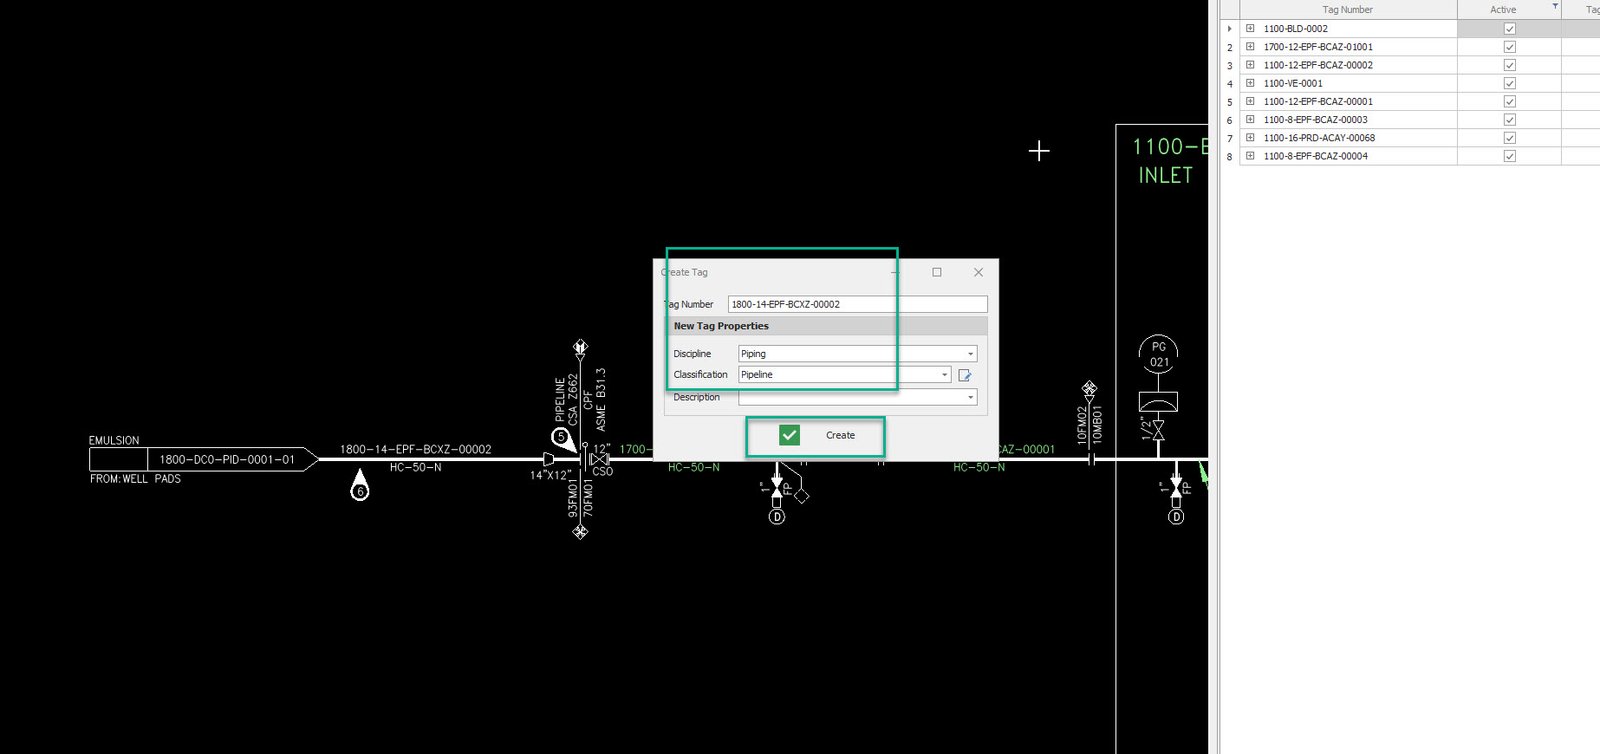
•The new created tag should be now visible in the tag list.
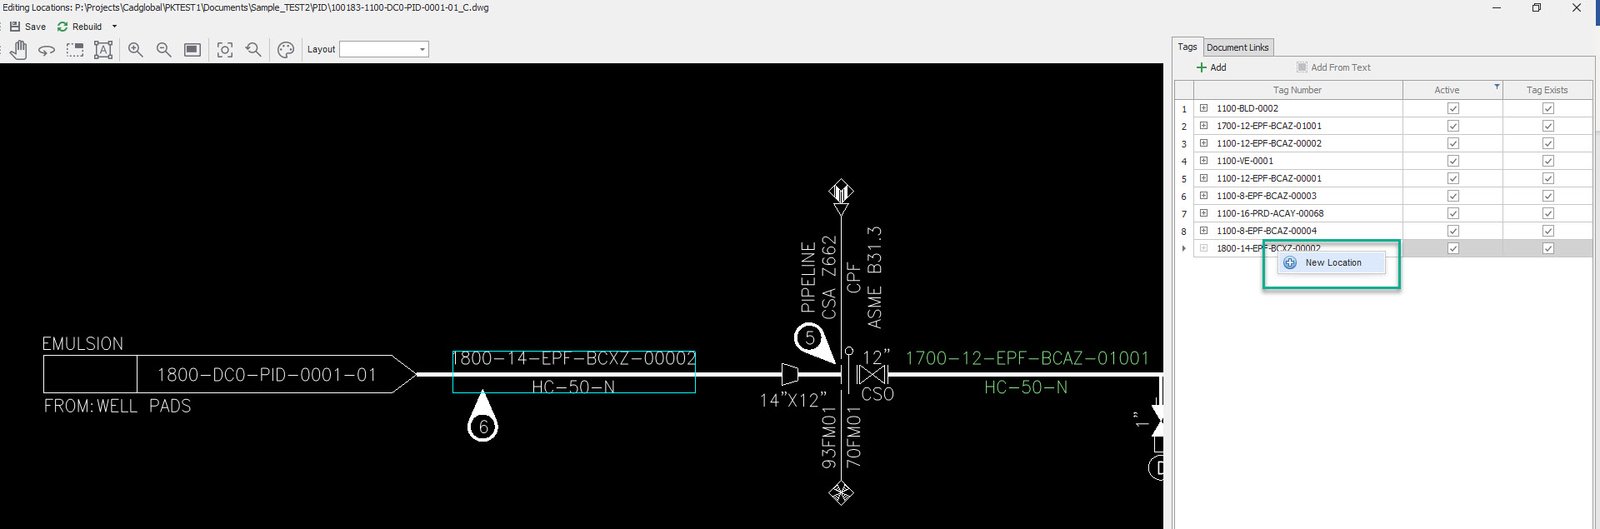
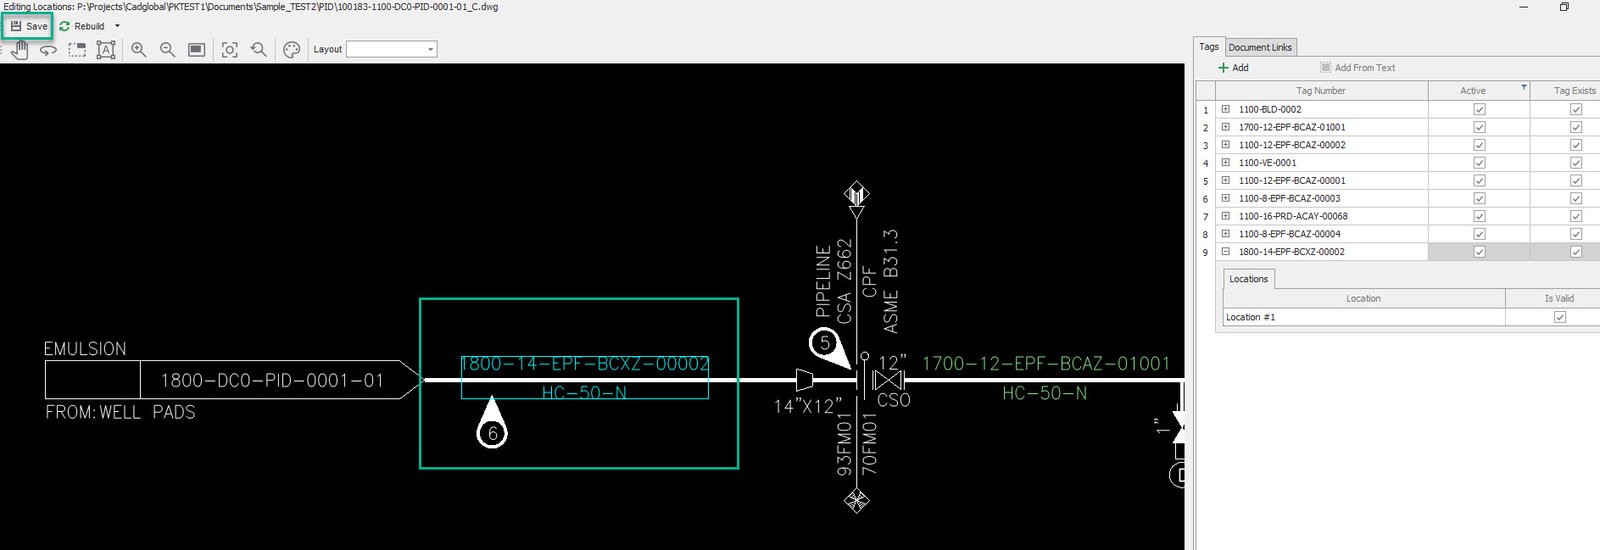
•In the top menu click the Selection Tool icon.
•Make the selection around the missing tag.png)
•Once the missing tag in the drawing is selected, right click on the tag number in the tag list and click "+ New Location"
•The new tag has been successfully added now and linked to its location on the drawing.
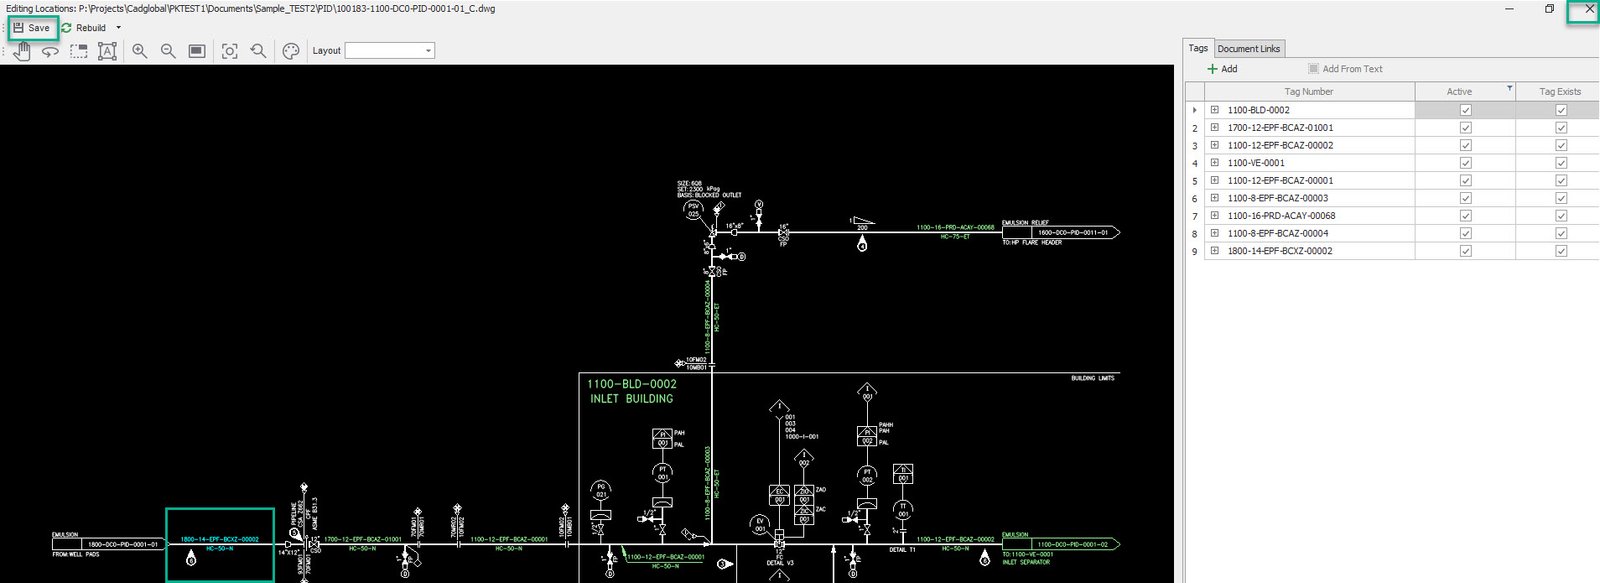
•Click Save and close the Editing Locations Window.
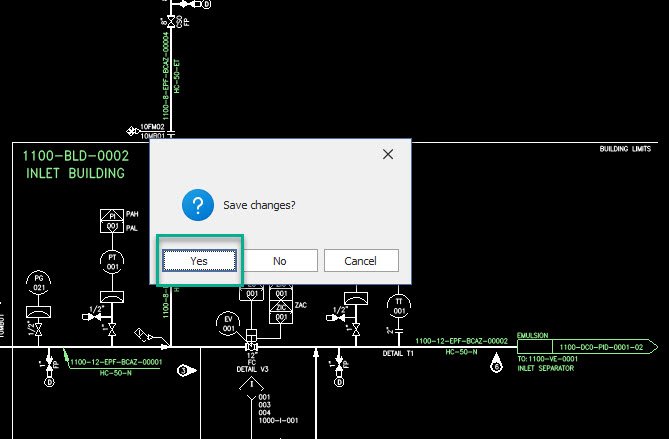
•Click "Yes"
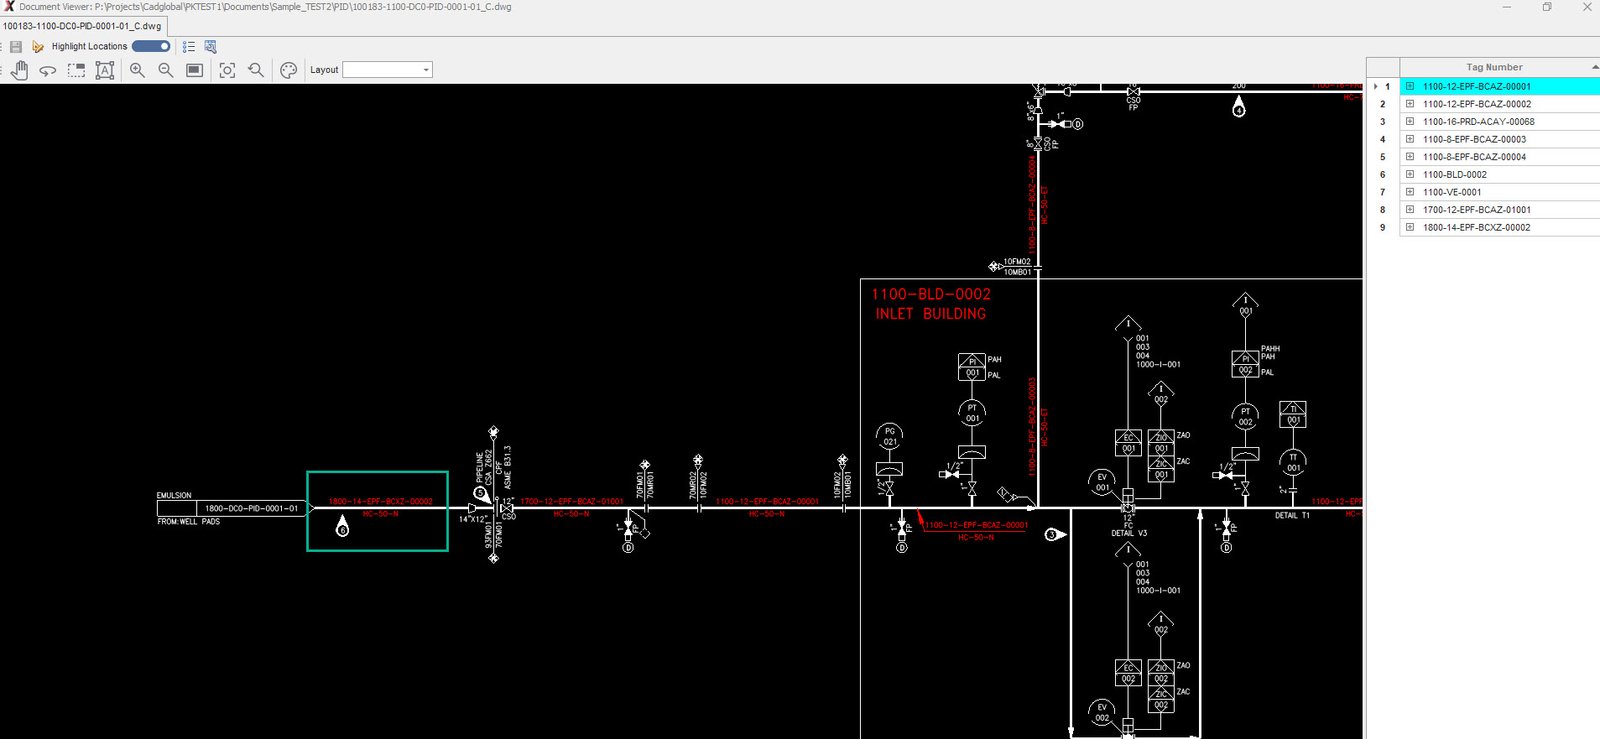
•Reopen the drawing in the document viewer.
•The missing tag should now be picked in the drawing.
|